1. Install Anaconda
Install the latest version of Anaconda at https://www.anaconda.com/download.
Anaconda is an open source package manager which makes it easy to create python environments and launch applications like Spyder, Pycharm, Visual Studio or more.
Anaconda is an open source package manager which makes it easy to create python environments and launch applications like Spyder, Pycharm, Visual Studio or more.
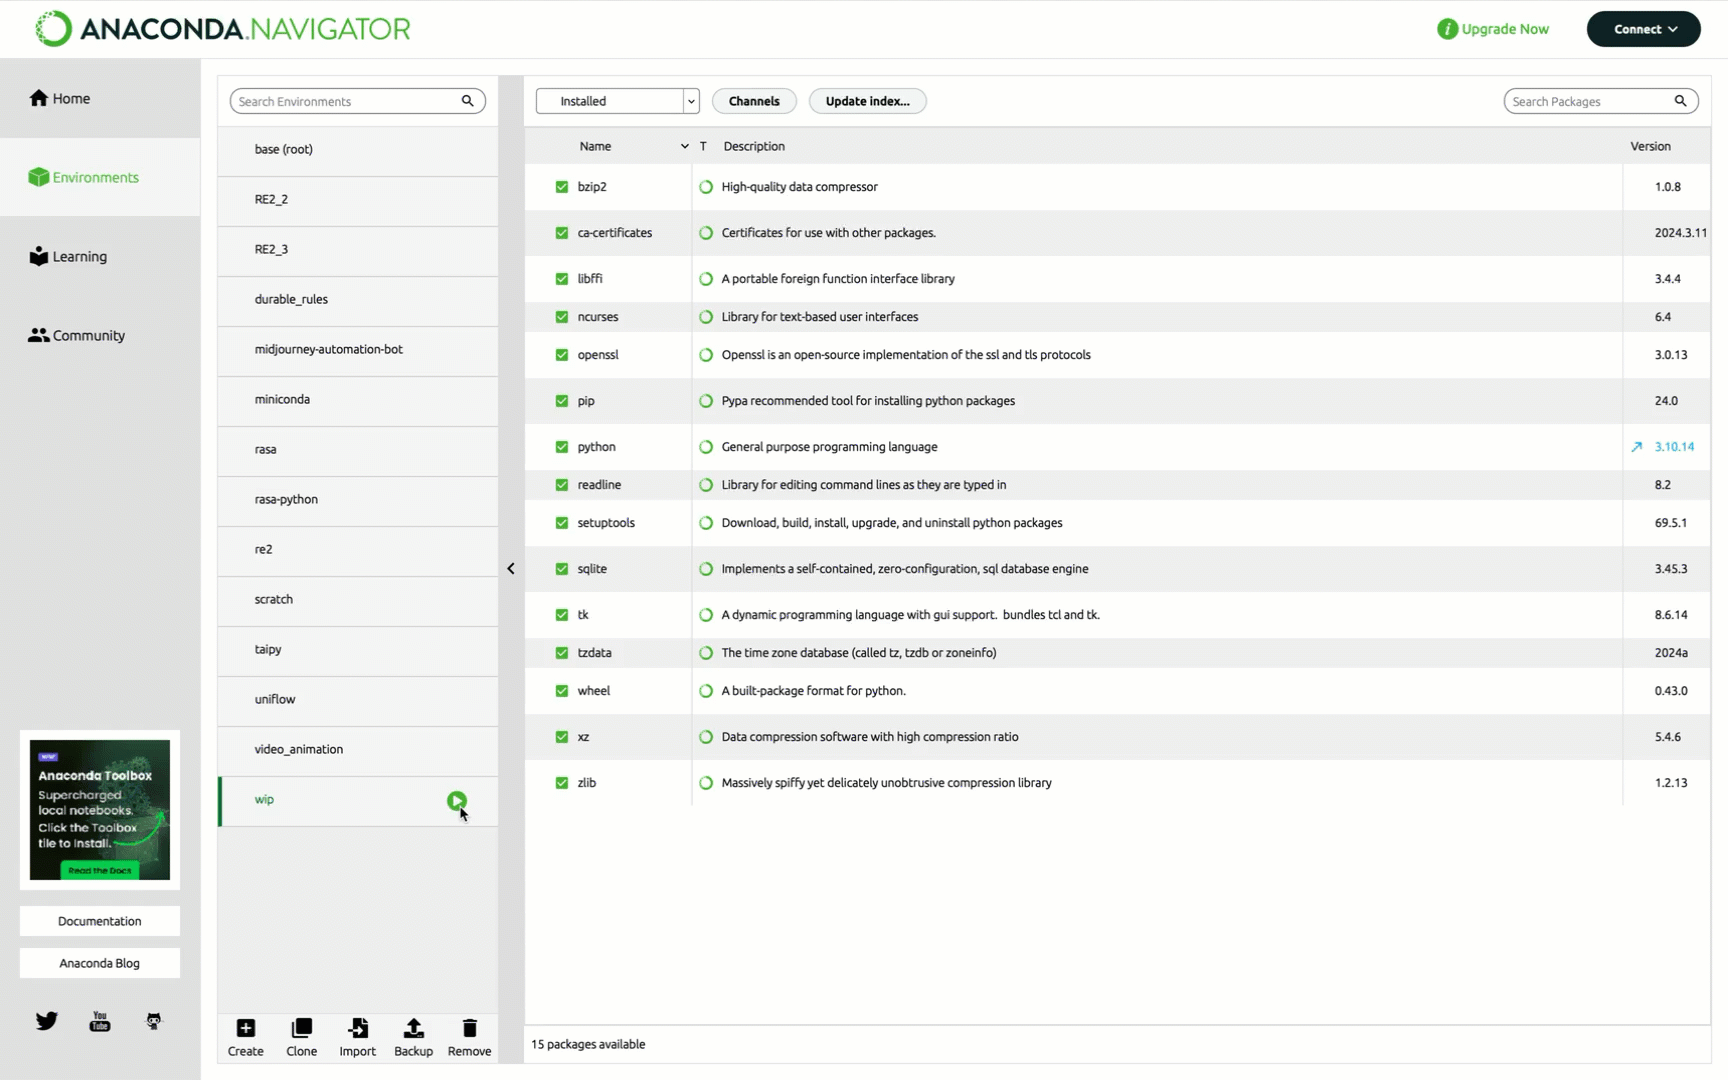
2. Create a New Environment in Anaconda
Creating a new environment helps you control what libraries you install and which versions of python. It also allows you install applications.
Go to Environments->Create and select the Python version and name of the environment.
Go to Environments->Create and select the Python version and name of the environment.
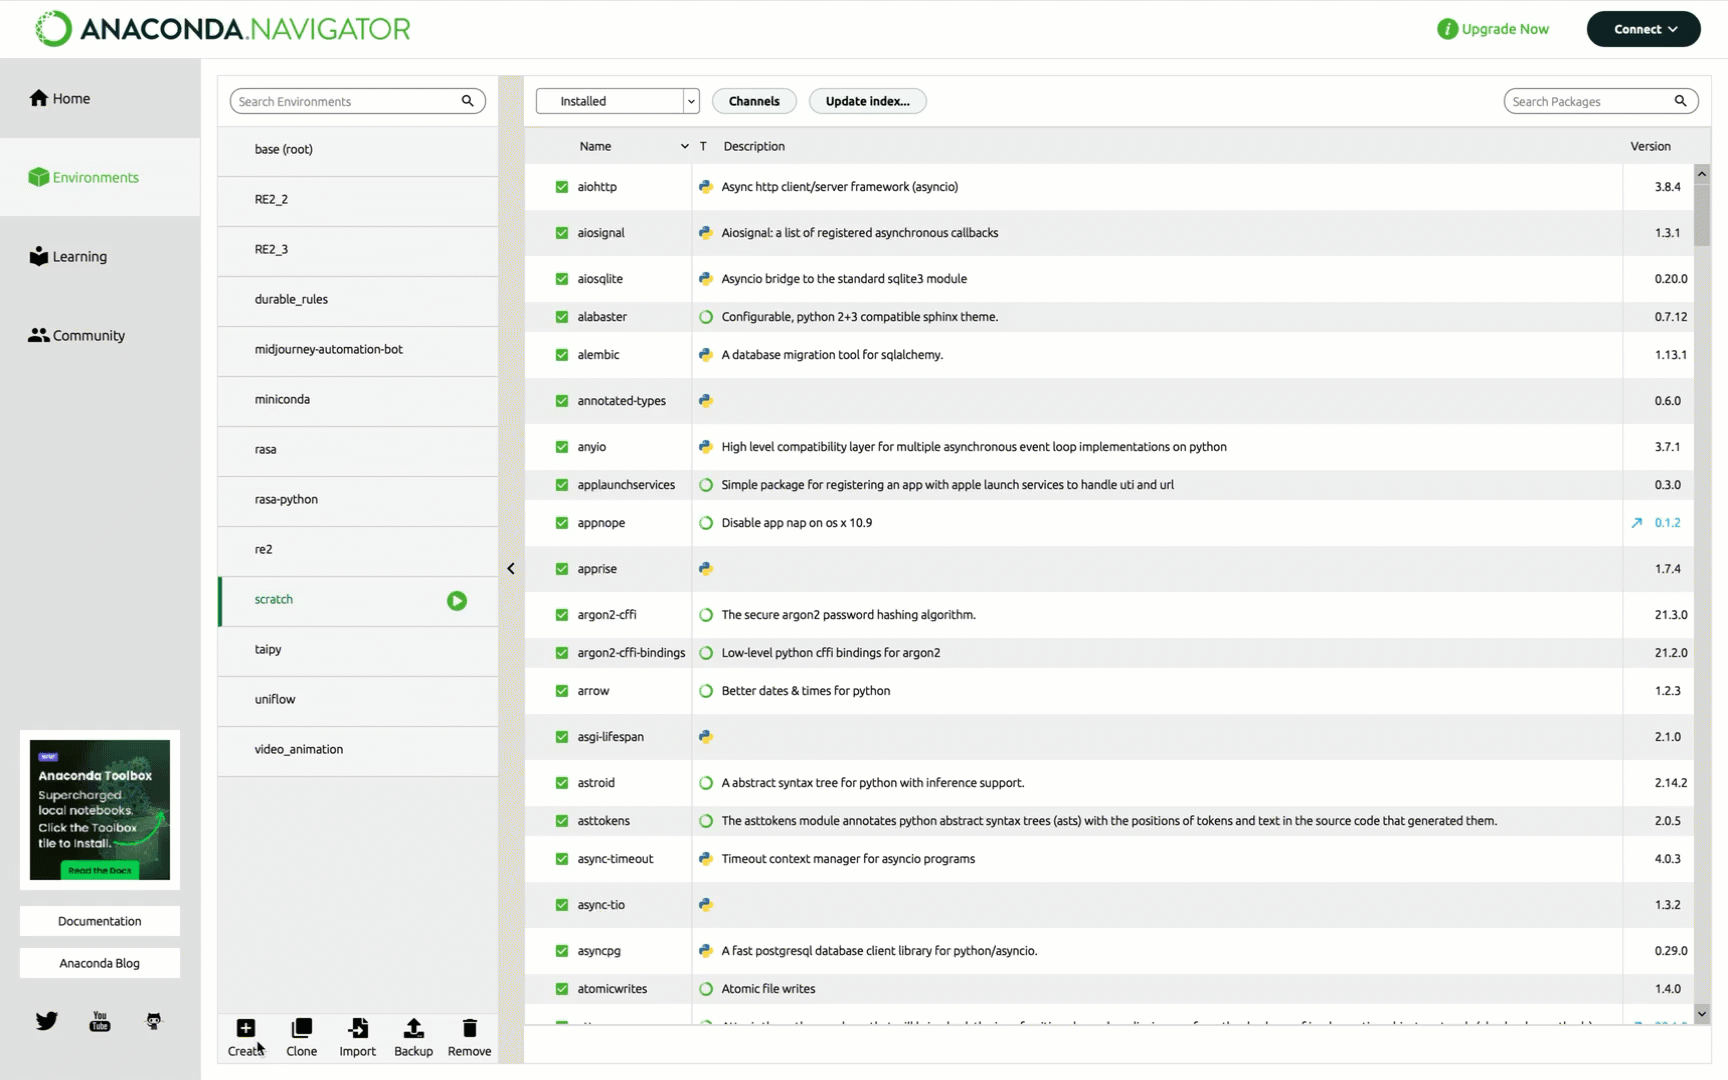
3. Install Python Packages
These vary based on what you are trying to accomplish, but start with Sci-kit-learn and Pandas which are very useful for data processing.
Copy the following code:
Copy the PIP install command and hit enter.
This installs the Pandas library which is useful for data manipulation and spreadsheet processing. Something I use regularly when creating scripts.
Copy the following code:
pip install pandas scikit-learnCopy the PIP install command and hit enter.
This installs the Pandas library which is useful for data manipulation and spreadsheet processing. Something I use regularly when creating scripts.
4. Install Spyder Python
Spyder Python is the easiest IDE for creating and troubleshooting python scripts.
1. Go to the home page in Ananconda
2. Make sure your environment is selected from the drop-down list at the top
3. Click install
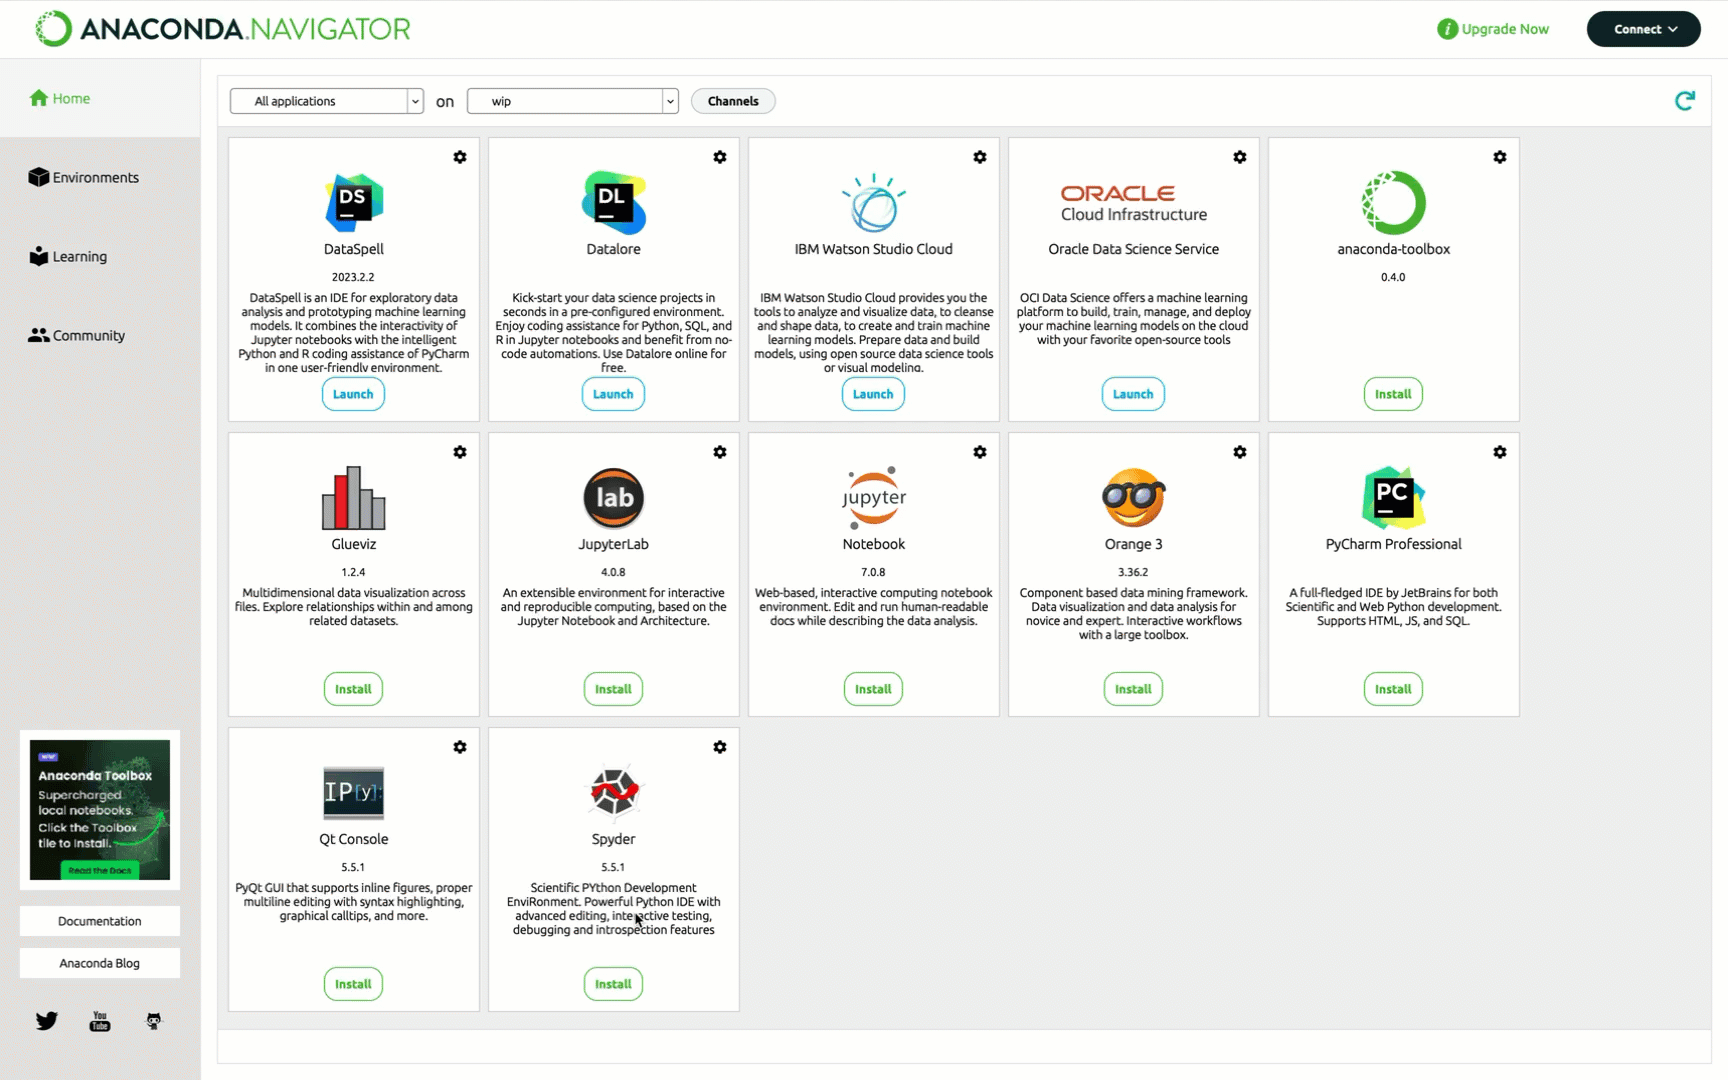
1. Go to the home page in Ananconda
2. Make sure your environment is selected from the drop-down list at the top
3. Click install
5. Launch Spyder and Set Working Directly
The working directory tells the system where to look for local files and scripts.
Important Note: Make sure the purple checkbox is checked next to the file path.
1. Launch Spyder Python from the Anaconda Home screen.
2. Click in the upper right corner to set the working directory for your scripts. Verify the purple checkbox shows up.
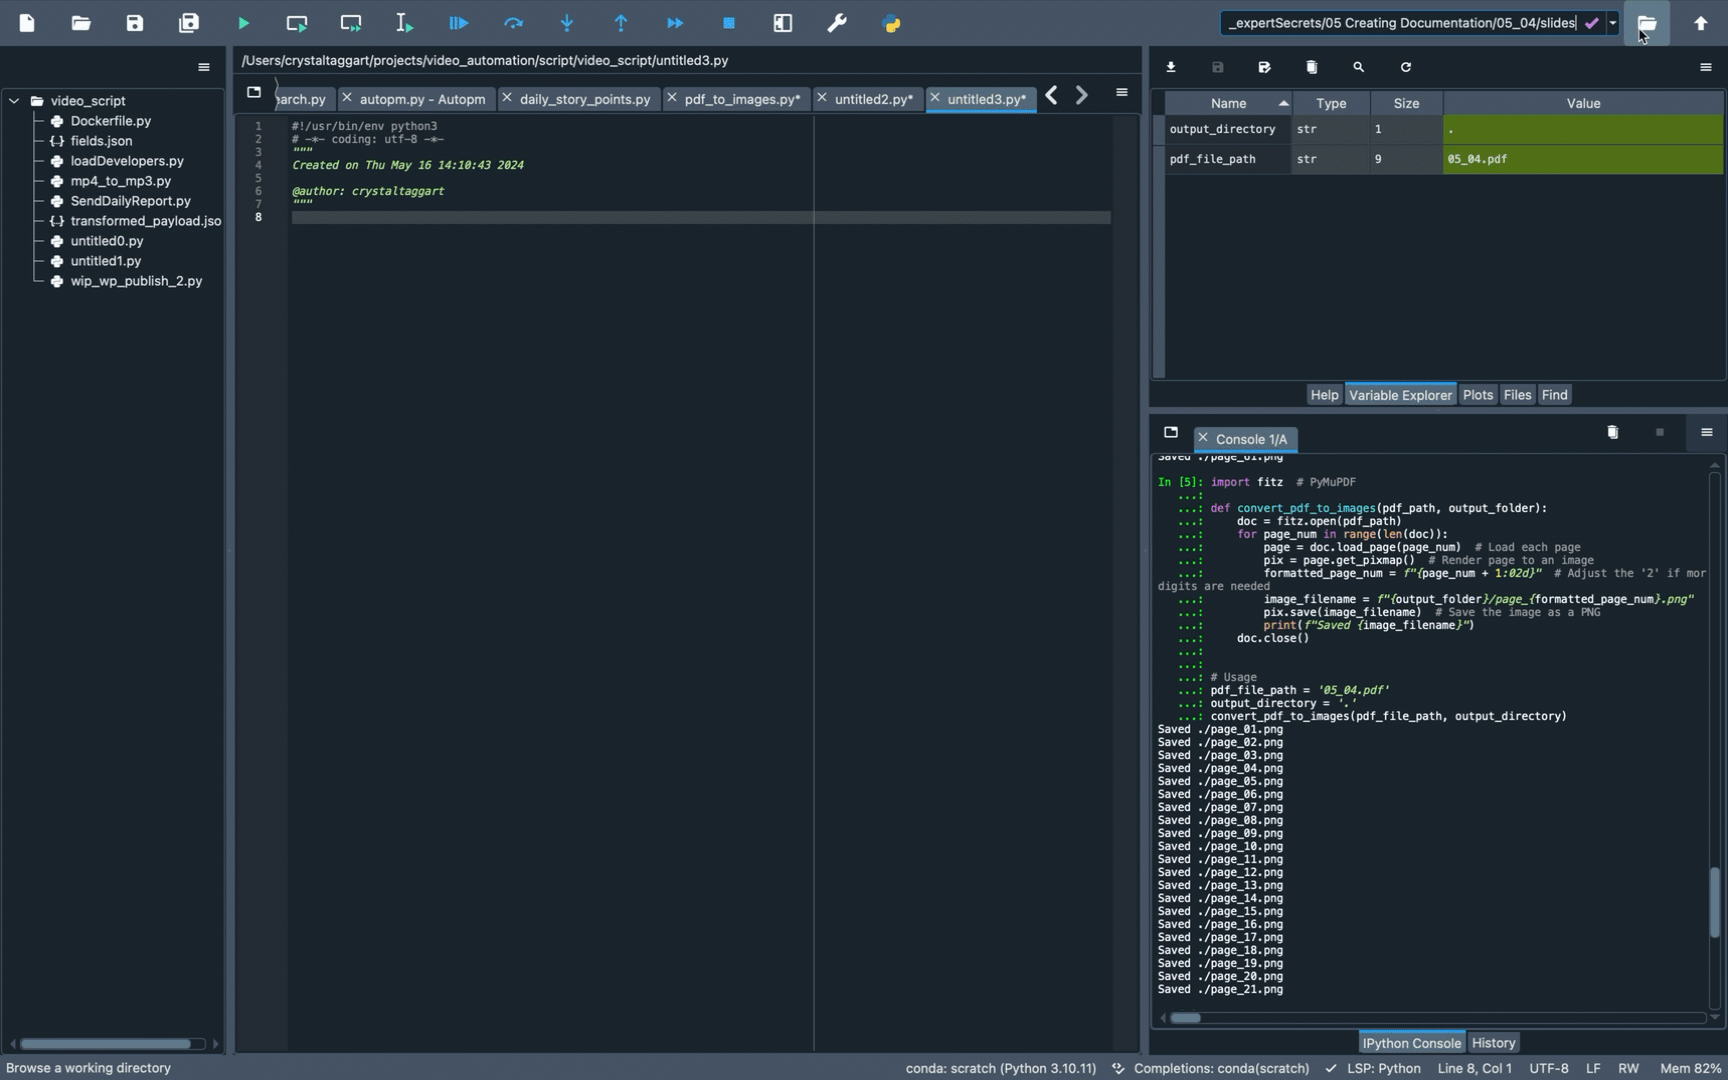
Important Note: Make sure the purple checkbox is checked next to the file path.
1. Launch Spyder Python from the Anaconda Home screen.
2. Click in the upper right corner to set the working directory for your scripts. Verify the purple checkbox shows up.
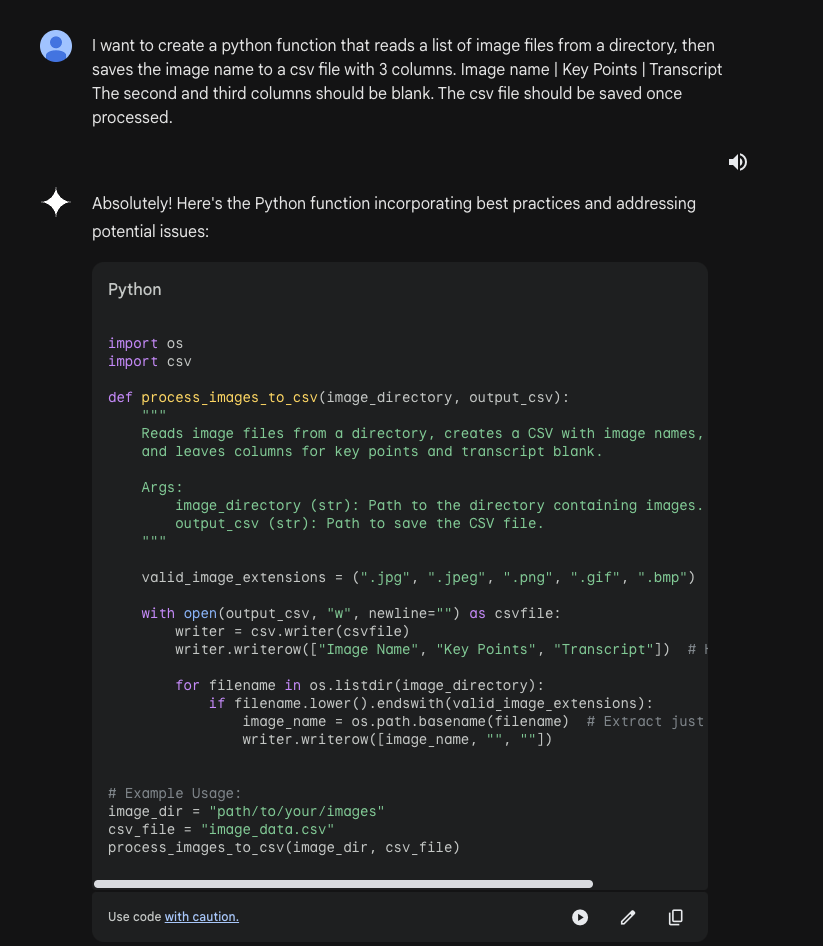
6. Ask the GPTs to Generate Code
You can prompt the AIs to generate python code. Both ChatGPT and Claude.ai do an amazing job at generating python code.
7. Highlight the Code and Run It
The I with the right arrow run the currently highlighted code.
If you highlight a function, it puts the code into the computer memory.
If you highlight code, it executes the code immediately.
If you change your code, (for example change the code within the function), you'll need to re-highlight the function again to put it into memory.
If you highlight a function, it puts the code into the computer memory.
If you highlight code, it executes the code immediately.
If you change your code, (for example change the code within the function), you'll need to re-highlight the function again to put it into memory.
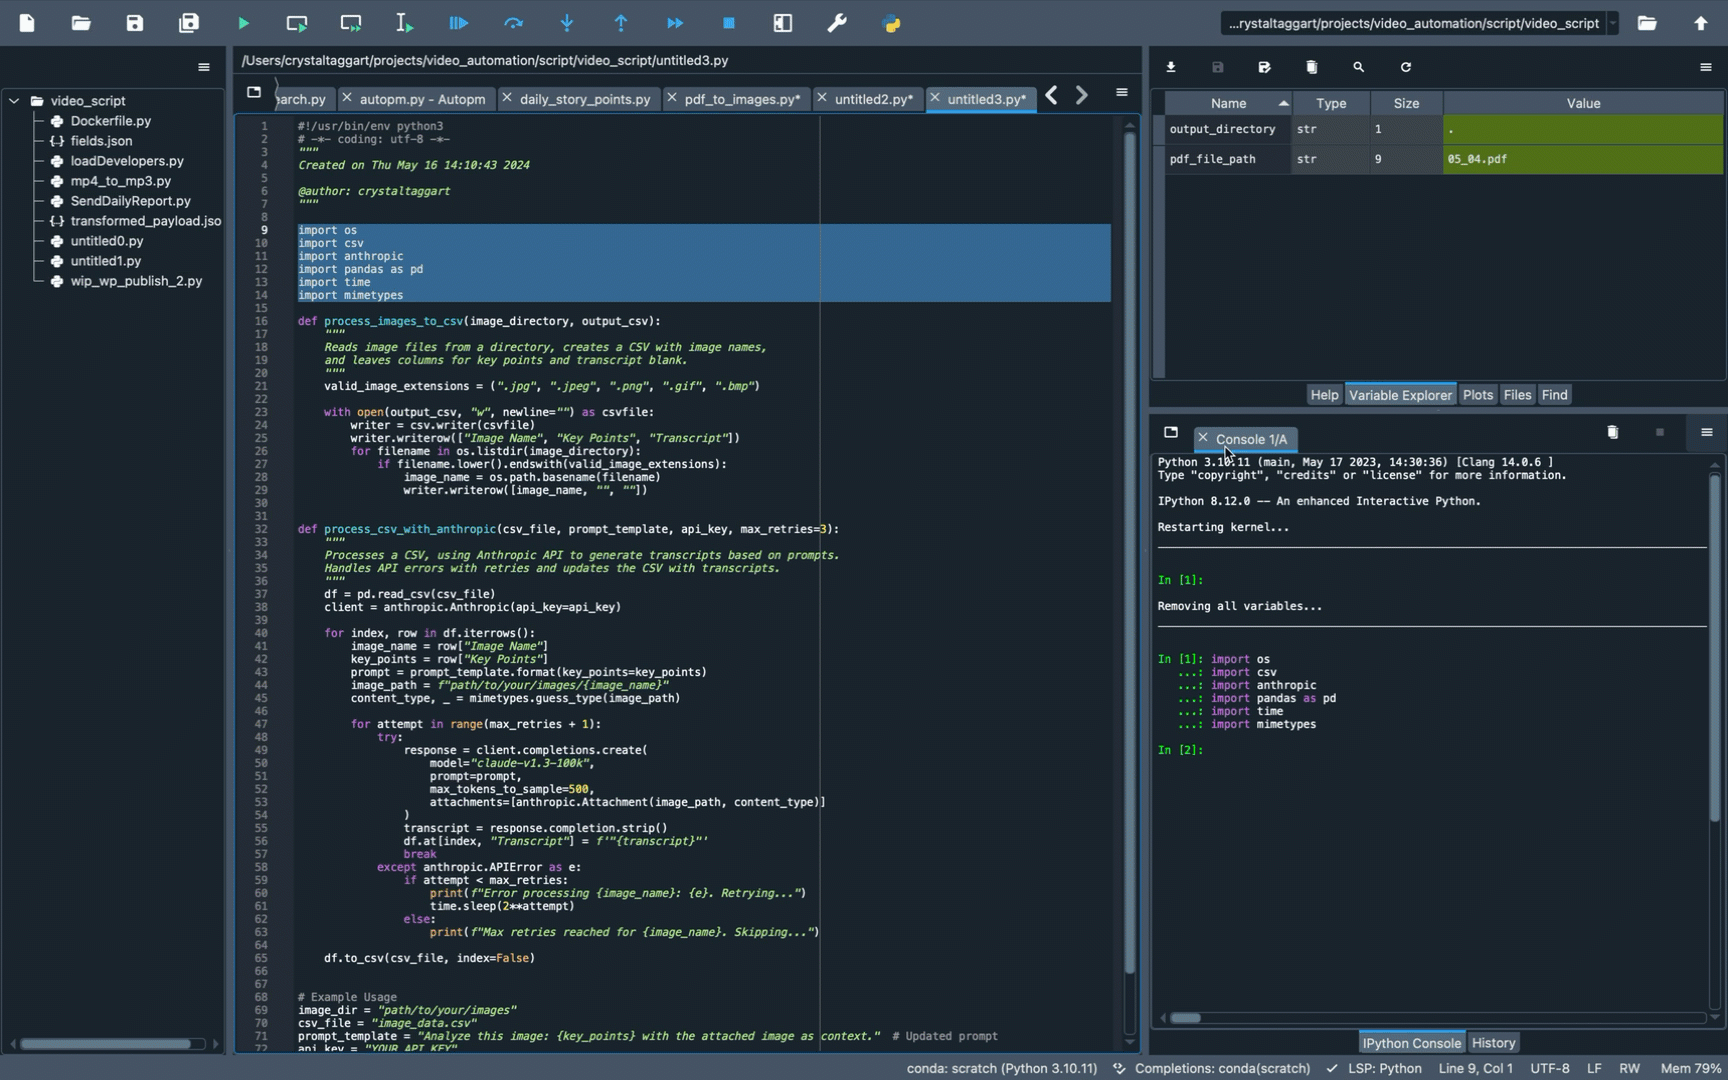
8. Experiment with Changing Variable Values
This script calls a Claude.ai API to generate transcripts from a list of images stored in a CSV file.
You can change variable values within the console window . Do this to perform tests on your code or see responses from REST APIs.
In this video, I'm resetting multiple variable values, then re-running a Claude.ai API to generate a video transcript for a class I'm building.
Variables can be reset by either:
1. Highlighting the code and running it
2. Setting values in the console manually by typing the code
You can also print variable values by typing the variable name into the console window.
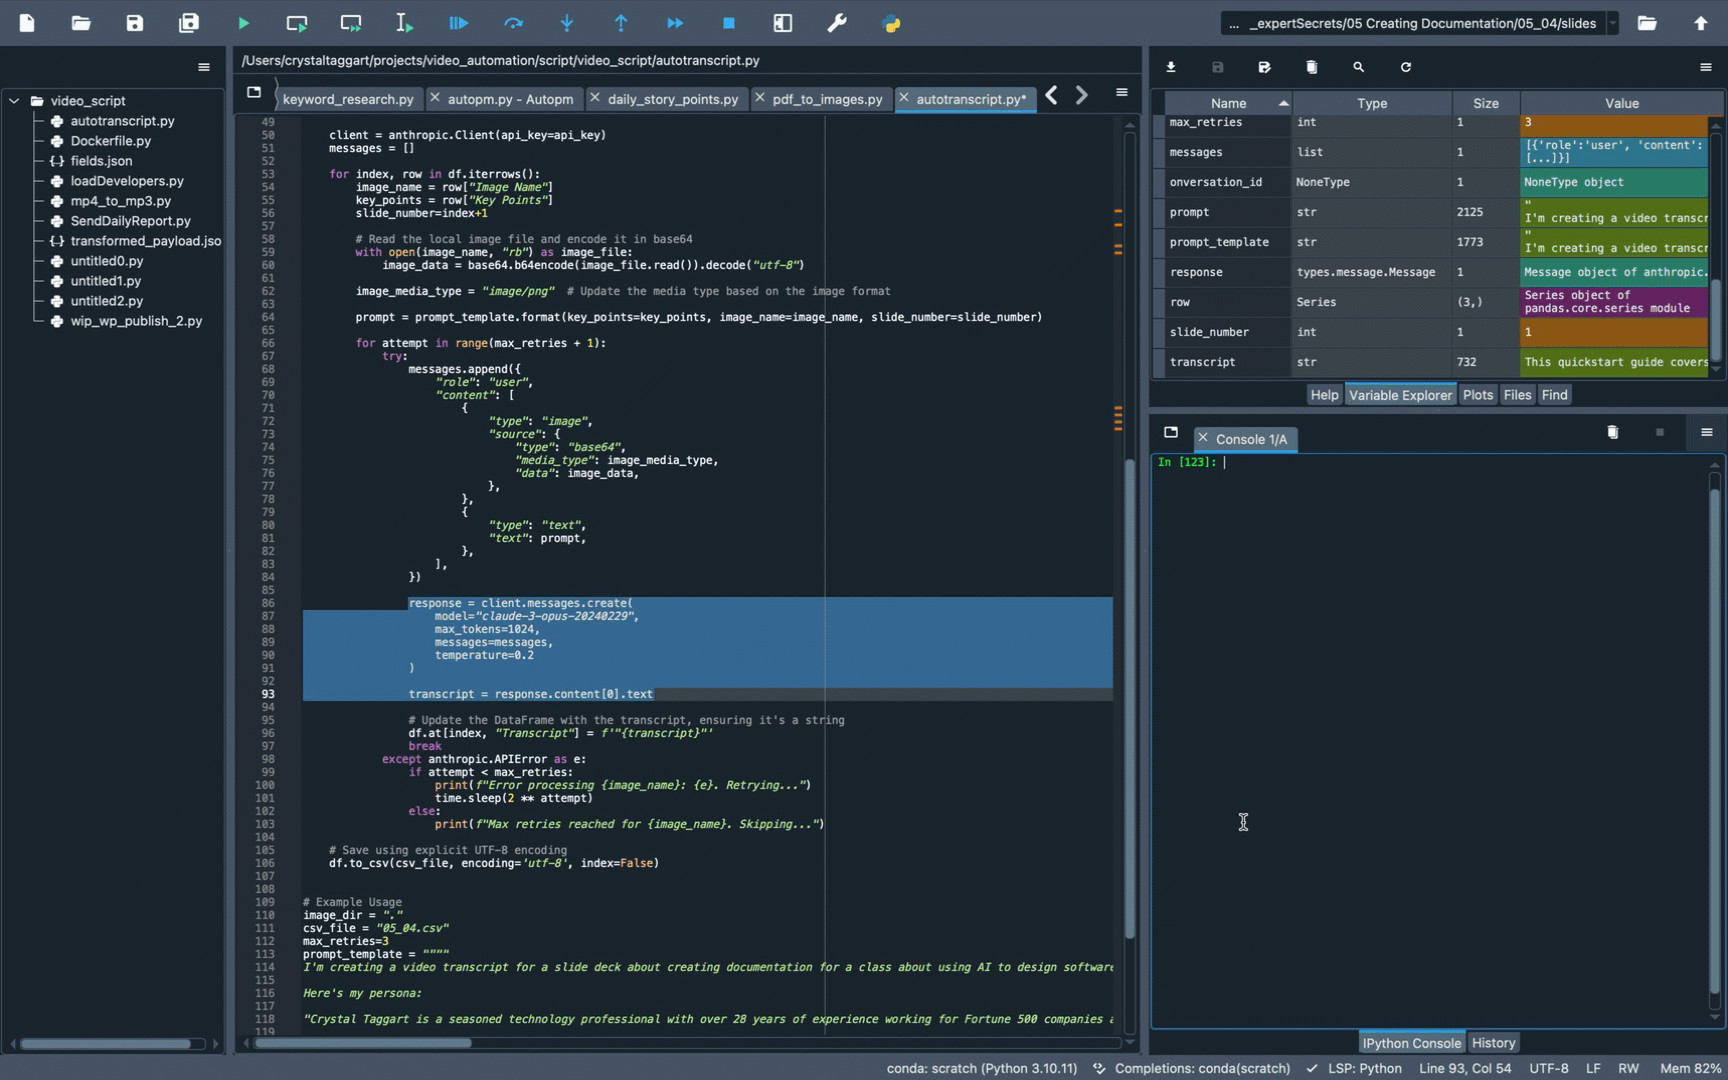
Here's an example of updating variables by setting new values.
In this example, I'm testing a for loop. I highlight individual lines of code in the loop and set the index and row values manually by typing it into the console.
This allows me to test the for loop with a few different values instead of running the entire process and checking for errors later.
In the below video, I
1. Updated the row and index to the second row in the CSV file
2. Reset variables for image name, key points, prompt etc.
3. Re-ran the API and got a subsequent error message from the api call (error code 400 displayed in the iPython console in the bottom right corner.

You can change variable values within the console window . Do this to perform tests on your code or see responses from REST APIs.
In this video, I'm resetting multiple variable values, then re-running a Claude.ai API to generate a video transcript for a class I'm building.
Variables can be reset by either:
1. Highlighting the code and running it
2. Setting values in the console manually by typing the code
You can also print variable values by typing the variable name into the console window.
Here's an example of updating variables by setting new values.
In this example, I'm testing a for loop. I highlight individual lines of code in the loop and set the index and row values manually by typing it into the console.
This allows me to test the for loop with a few different values instead of running the entire process and checking for errors later.
In the below video, I
1. Updated the row and index to the second row in the CSV file
2. Reset variables for image name, key points, prompt etc.
3. Re-ran the API and got a subsequent error message from the api call (error code 400 displayed in the iPython console in the bottom right corner.
9. Getting the GPTs to Fix the Code
If you get an error message, you can copy/paste the error and have the GPT troubleshoot
Important Note: Many of the AIs are outdated and don't always have the latest code. If there's a problem, it may take some research to resolve it.
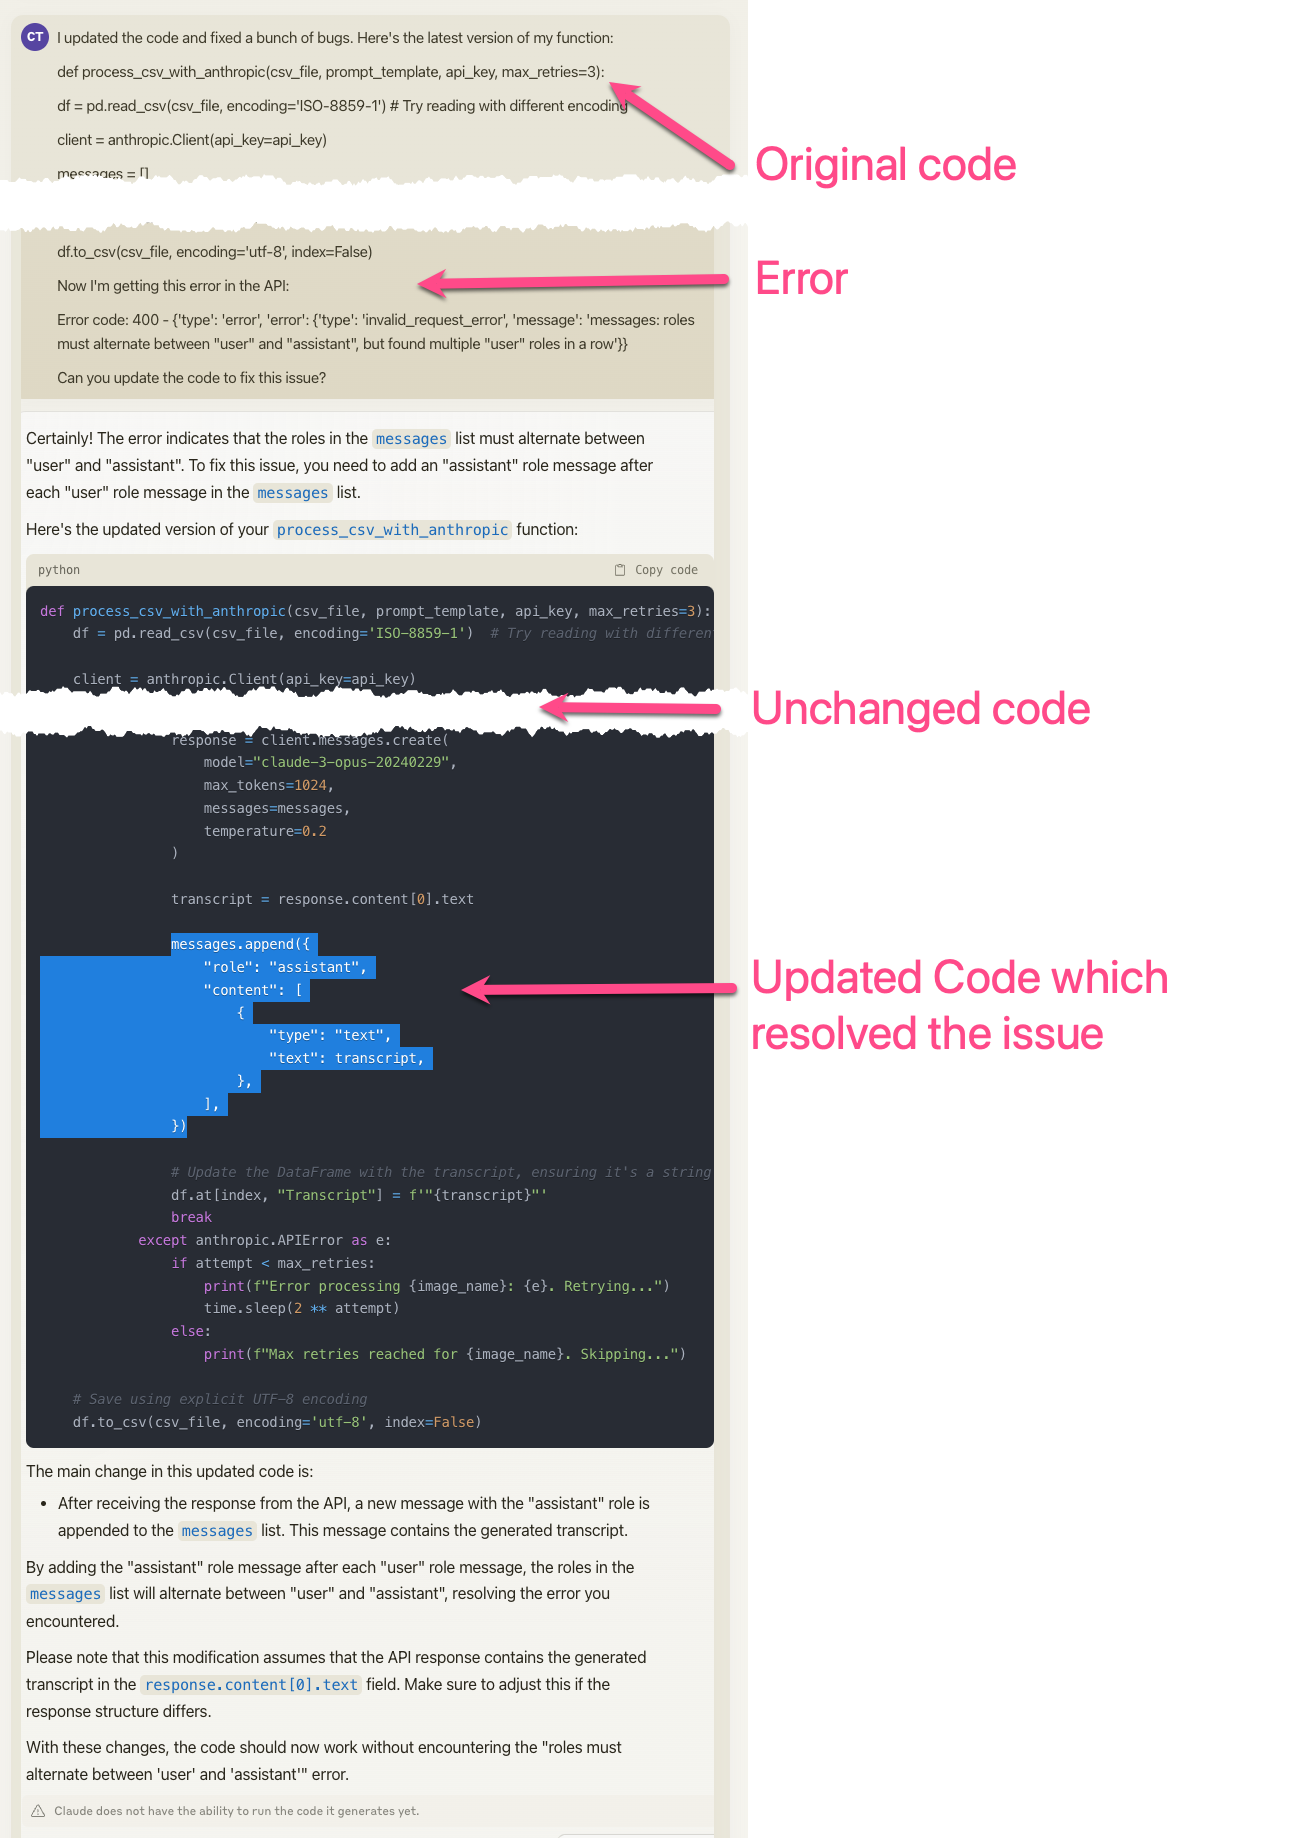
Here's what I did to fix the code:
1. Provided the most up-to-date version of the function. (I had many bugs in the original script generated.)
2. Provided the error message to the GPT
3. Asked it to fix the issue
4. Found the change in the code and copied/pasted it (or alternatively sometimes I copy/paste the entire function or ask the AI to re-generate all the code.)
Important Note: Many of the AIs are outdated and don't always have the latest code. If there's a problem, it may take some research to resolve it.
Here's what I did to fix the code:
1. Provided the most up-to-date version of the function. (I had many bugs in the original script generated.)
2. Provided the error message to the GPT
3. Asked it to fix the issue
4. Found the change in the code and copied/pasted it (or alternatively sometimes I copy/paste the entire function or ask the AI to re-generate all the code.)
10. Handling Package Errors
Package errors means that libraries your code needs isn't installed in your Anaconda environment. (Step 3 above.)
When package errors occur, you have to restart the Kernal which will load the package into memory. This also resets all of your variable values.
1. Ask your GPT to give you the PIP command to install the package.
2. Go to the Anaconda Environment and follow step 3 to run the PIP command and install the package.
3. Restart the kernal by clicking the Hamburger menu in the iPython console and click restart.
4. This clears all variables from memory. Re-highlight your code and click the "Run selection or current line" button (Cursor with green arrow) to re-load your variables.
5. Re-run your code and see if your image is resolved.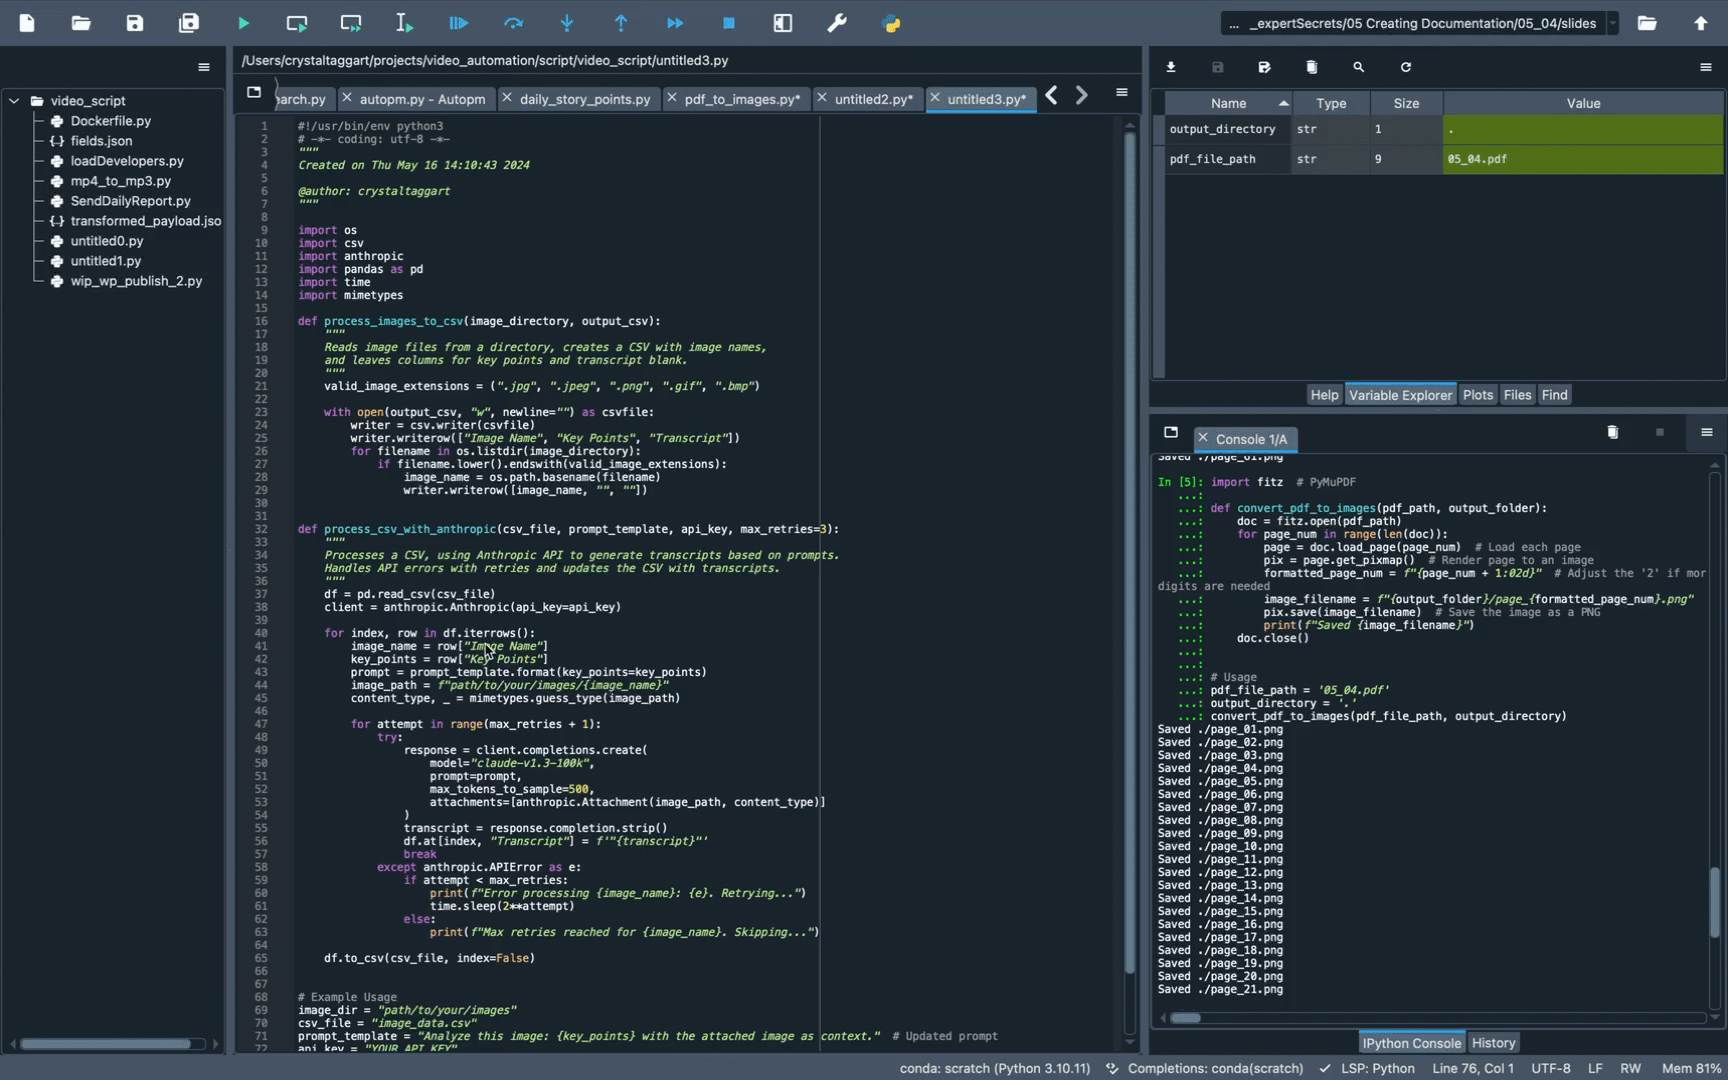
Want to Learn More Python?
Here are some free and paid resources to get you started (no affiliiate links):
- Spyder Python Getting Started (Free)
- Real Python (Free and memberships at $24.99-49.99/month)